So you’ve decided to take the plunge into the world of DIY van conversions. We don’t blame you - it’s easily the most cost effective way to the van of your dreams. With a bit of planning, a few spare weekends and some professional help where needed, you’ll be surprised at what you can achieve.
As the saying goes, “If a job’s worth doing it’s worth doing well”. In the case of van conversions if it’s not done well then you’re opening yourself up to a whole host of problems in the future including excessive condensation, rust and mould to name a few. Not ideal for your living environment. Best to get it right the first time and save the headaches!
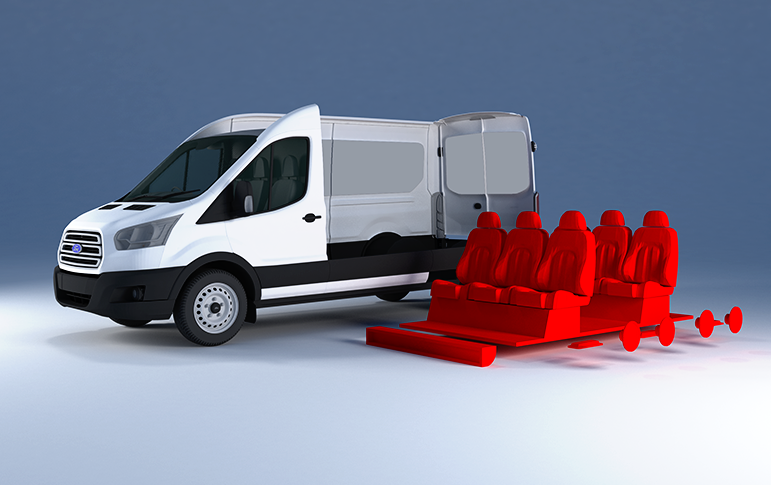
Whether you have bought an existing camper van or you are starting with a panel van, this stage will vary in difficulty. It may just be a simple dusting over, or you might have some ply lining to remove, worst case you’ll have an old dilapidated interior to remove. Whatever degree of strip out you are facing, the aim of the game is simple, you need the van back to its bare bones to see what you are dealing with.
Once stripped out you’ll also have the opportunity to address any problems you may have unearthed. Common problems are rust spots in the floor caused by past cargo related scrapes. Hopefully it’s minor rust that can just be sanded back and painted, if it’s rotten you’ll need the metal cut out and replaced. Either way get them repaired now whilst access is easy, hiding them under insulation doesn’t mean they go away!
TIP: You may want to reuse some of the ply lining and old interior. If so, it’s worth spending the extra time on its careful removal. I know it’s tempting to reach for that trusty sledge hammer but this approach (although fast and fun) rarely ends well.
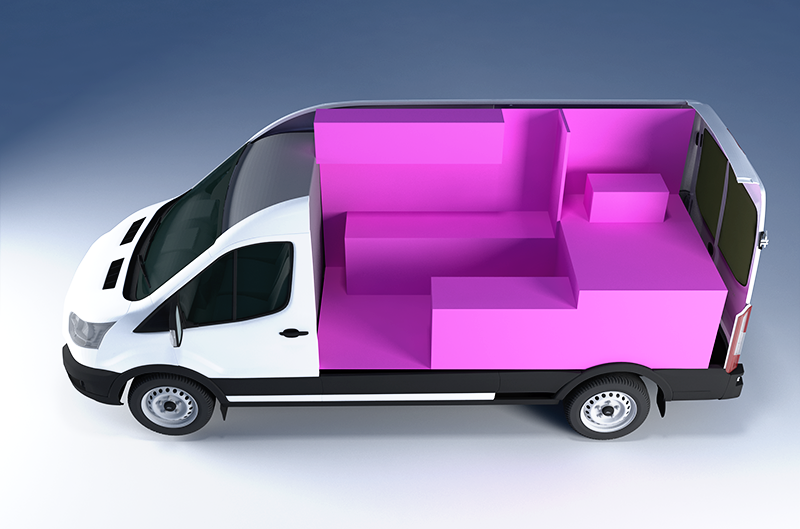
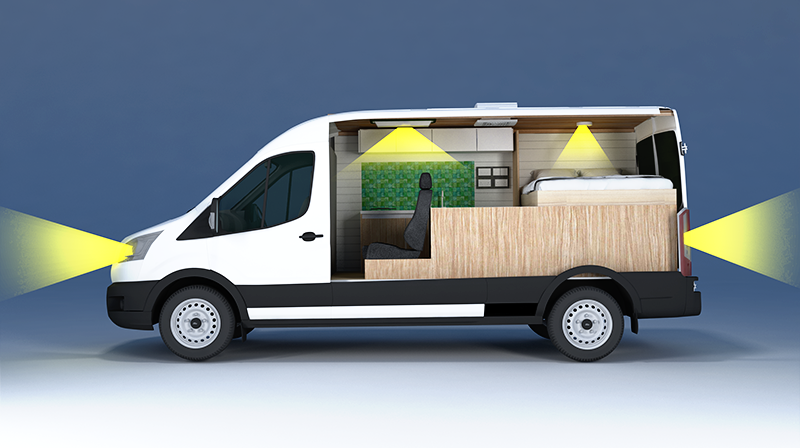
Planning the interior of your van is an extremely important stage in the conversion process. Take your time here and really think about how you intend to use your van once finished.
Things to consider when planning your layout are:
With the van stripped out, you’ll have a better feel of the space available, it’s a good idea to sketch some possible layouts using some graph paper and a pencil. Alternatively you can design your layout in 3D using SketchUp or similar.
TIP: Something that is quite often overlooked is weight distribution. This will need to be considered in your design. It’s not a good idea for example to have all your heavy items to one side. This will affect road handling. You are aiming for an even weight distribution.
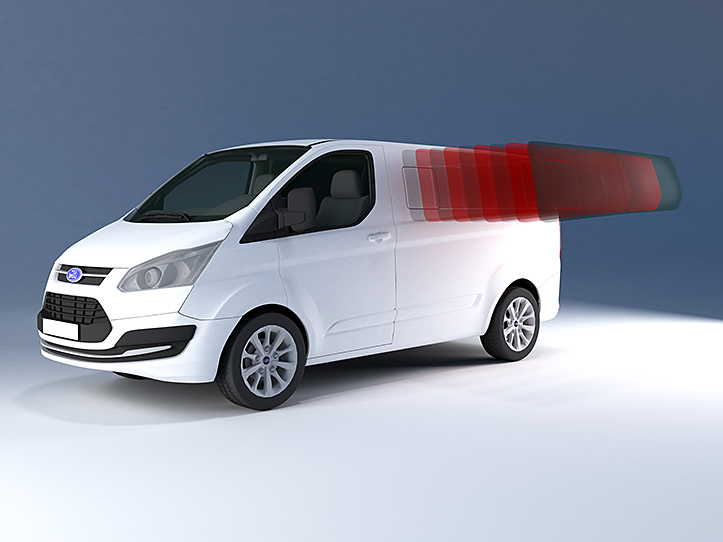
Windows not only flood your camper interior with daylight, the opening units also provide additional ventilation. There are a number of options available both fixed and opening, privacy tinted or clear, single glazed or double glazed.
Once you have decided on the windows you’ll need to have them installed. Whilst you might be tempted to fit them yourself, we don’t recommend doing this, simply because it is such a critical part of the build. You only have one chance to get it right. A mistake here can be catastrophic! You’ll want to leave this job in the capable hands of a professional van window fitter.
TIP: If you want to register your campervan conversion with the DVLA, there is a requirement to fit two or more windows on at least one side of the vehicle’s body. Driver and passenger door windows don’t count!
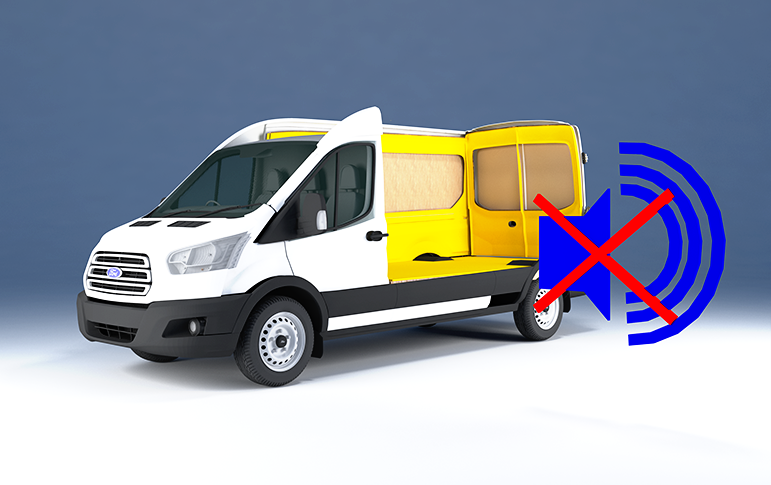
Road noise generated by the wheels of a van transfers throughout the vehicle’s body due to the large expanses of thin sheet metal walls vibrating and drumming when the vehicle is in motion.
Most manufacturers go some way to addressing this problem from the factory by adding silicone between the structural ribs and the panels, this acts as a damper to the panel, deadening the vibrations.
They’ve done us DIY van converters a real favour here because it means we don’t need to add much more sound deadening treatment. A couple of pieces of sound deadening sheet adhered to each panel will do the trick. No need to go crazy.
TIP: Van floors and ceilings are generally strengthened by adding creases (or ribs) to the metal. These same creases also serve as sound deadening as they eliminate the large expanses of metal we talked about earlier. This means that in most cases the floor and ceiling of a van require no additional treatment, saving you time and money.
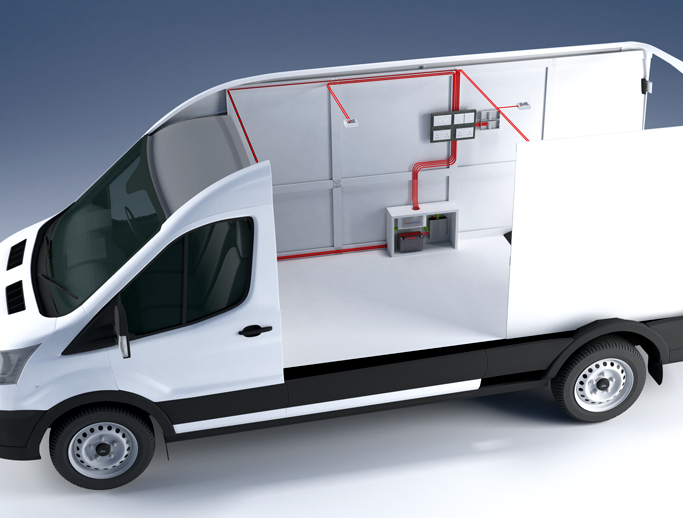
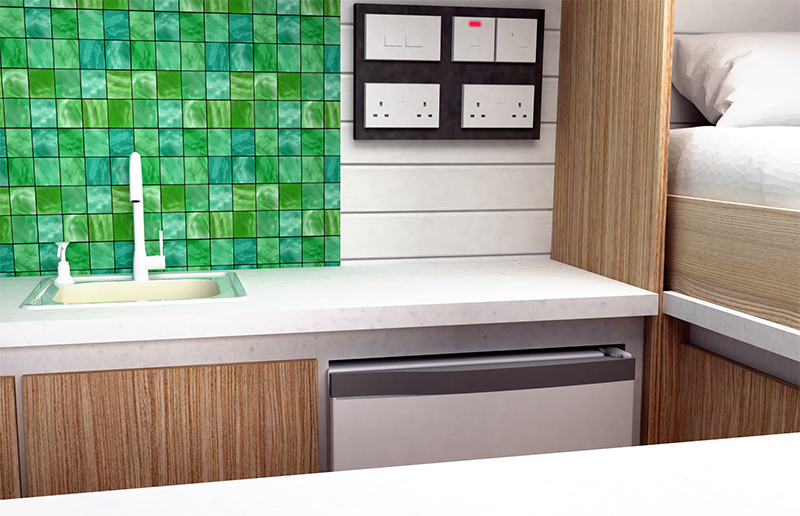
Using your layout plan from earlier it will be possible to install the bare-bones of the electrical system including wiring, socket back boxes and light switch back boxes.
The complexity of your electrical system will depend on how many items in your van require an electricity supply and whether you want the system to run off-grid. In any case for safety reasons it is recommended that electrical work is carried out by a qualified professional.
TIP: Having professionals carry out work will cost more, but you will be in a far better position if you decide to sell the van in the future. It’s a much easier sell if you have proof work is to the correct standards.

Ventilation in your van is very important. Not only does it keep occupants comfortable throughout the seasons, ventilation also serves to protect your van from mould build up and rust.
Roof vents are commonly used to extract warm air from the cabin in the summer months, at the same time drawing cooler air through open windows or floor vents. This movement of air also extracts moisture produced from occupants breathing, moisture and smells from the kitchen and moisture resulting from shower facilities.
It’s important that this excess moisture is extracted particularly in the winter months when condensation is more likely to occur on cold surfaces.
TIP: Depending on the size of your van you can have two roof vents, one extracting air and the other supplying air, this results in a very effective air flow.
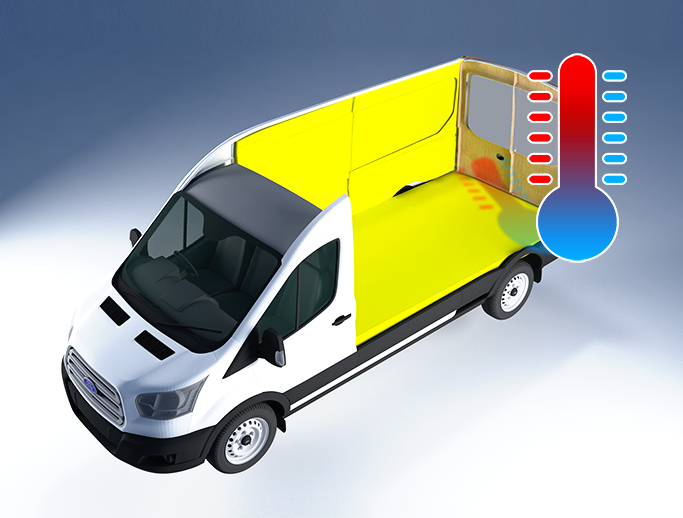
Insulation prevents heat loss. You need to effectively cocoon the interior of your van. There are various types of insulation available with varying thermal qualities.
You want insulation with a low thermal conductivity value meaning a poor conductor of heat. After all you need to keep that heat inside, you don’t want it to easily transfer to the outside!
Of all the insulation on the market PIR insulation board seems to have the best thermal qualities for the thickness of material. Great for when space is at a premium – like in a campervan! Wool insulation is also popular, it won’t perform as well but it’s more environmentally friendly.
You’ll also need to install a vapour barrier, this will prevent warm moist air penetrating through the insulation and condensing on the cold sheet metal structure of the van which can lead to rust.
TIP: Use a mixture of PIR insulation board and wool insulation. The board is great for large expanses such as the ceiling, floor and parts of the walls but for the hard to reach cavities, the wool will be far more applicable.
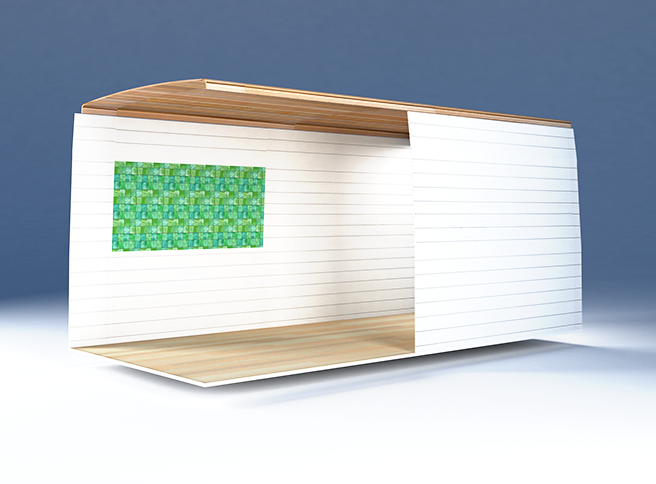
Plywood lining is installed on top of the insulation and vapour barrier. It is fixed to the ribs of the van. Additional timber battens may need to be installed where fixing to the van structure is not possible. 9mm thick marine plywood is a great choice, it has the flexibility to follow the contours of the van walls and ceiling. Remember to create holes for electrical back boxes etc. previously installed.
When it comes to the floor you’ll need something a bit more robust, so go for a 12mm thick board.
Once your ply lining is in place it can be used to secure cupboards and you’ll also have the option to fit furniture boards for a more luxurious finish.
TIP: There are companies that sell pre cut ply lining for most popular vans making this job far easier.

It’s time to bring your layout to reality. Cupboard units, kitchen units, partition walls and beds can all be fitted. You can opt to buy prebuilt units specifically for your van, or if you’re on a tighter budget you can build these yourself, there are many clever fixtures and fittings out there to give self built units the same functionality as bought units.
At this stage a professional will be able to install the rest of your electrical system to meet your requirements.
The plumbing system can be installed at this stage, again, best to find a professional to carry out the work to your requirements.
TIP: LED interior lighting is the perfect choice for camper vans, it has many benefits over conventional bulb lighting. For starters LEDs last much longer and the light is instant (no lag or warm up required). The best thing of all, quite simply LED lighting uses much less electricity to produce the same amount of light! – save money and the environment at the same time, it’s a no-brainer.
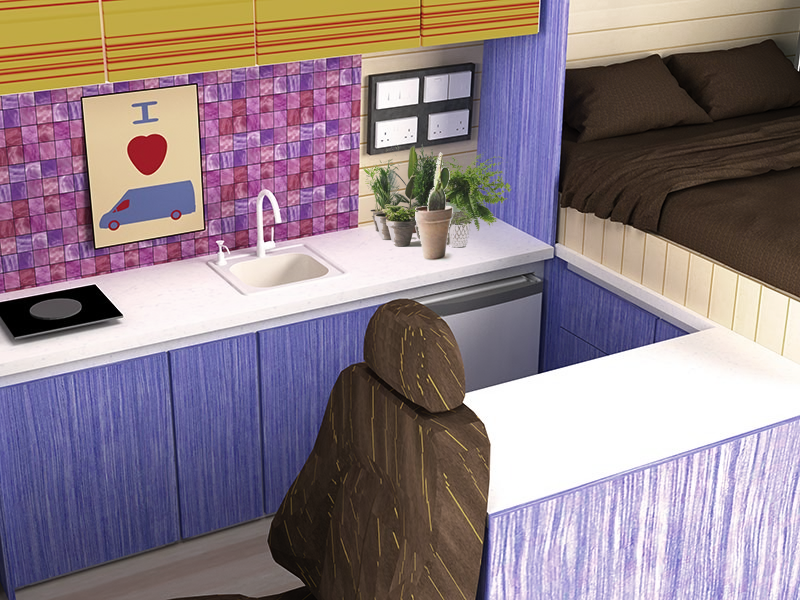
Almost there! Now it’s time to introduce your style to your pride and joy. Choose curtains, upholstery coverings and add the final fixtures and fittings. It’ll soon be time to pack up and head off on that adventure you’ve been meticulously planning. Remember to store all your belongings securely, you don’t want anything moving around when the vehicle is in motion.
Made to measure curtain kits are widely available, they are usually on aluminium rails. Try to get preformed rails as it will save you the hassle of having to bend the rails to fit the curves of the window aperture, they are quite easily kinked without specialist bending tools. Once fitted, this type of curtain is very effective at keeping the light out.
TIP: Soft furnishings often double up as a bed, it’s a good idea to buy foam that has a layer of memory foam bonded to the top. Far more comfortable for a good night’s sleep.